What Is A Boost Bottle?
I was going to write an explanation here, but I can't do it better than some of the people that have already explained it, so here is a link. This link describes what happens in a piston port two stroke engine. It is largely the same principle in case reed inducted two strokes.
http://wikiscootia.wikidot.com/boost-bottle
Planning A Boost Bottle
I've read differing facts and opinions regarding the volume of boost bottles relative to cylinder displacement. Some say the tube should be larger than the cylinder, some say it should be equal to the size of the cylinder, and still others say it should be slightly smaller than the cylinder. I've read taht there are actually ways to tune the RPM range in which a boost bottle is effective by changing the size or shape of the boost bottle, the hose connecting the bottle to the manifold, and the ports into the bottle and manifold. I have only built them for single cylinder 2 strokes, both case reed and piston port inducted, at a volume equal to (or very close to) the displacement of the engine. I usually use 1/4 inch hose and fittings to connect the bottle to the manifold. I do believe that boost bottles could be tuned beyond the simplistic designs that I use, but I have seen improved throttle response, smoother idle, and more midrange power so simple works for me. I beleive there are programs available to calculate all sorts of properties of boost tube designs. My way is cheap, and has worked for myself and others.
You'll need to take the volume of the material you are using for the tube and the hose connecting the tube to the manifold into account. For example : If your desired volume is 49cc and you are using 1 inch inside diameter tubing you would need 3.81" of 1" tubing. If you then connected your 49cc boost tube to your intake manifold using 1 foot of 1/4" inside diameter hose your total volume would be 58.67cc. To achieve 49cc of total volume you need to reduce the size of the boost bottle to compensate for the volume of hose you are using.
The easiest way to get an estimate of the length of hose you'll need to connect the tube and intake is to mock up the location of your boost tube. Use hose or string to determine the length needed. If you come up with 1' and you plan you use 1/4" I.D. hose, the hose would have a volume of 9.67cc. Subtract 9.67cc from your target volume, 49cc for this example, to get 39.33cc. Instead of making the boost tube 3.81" long, you would only need to make it 3.06" long.
The chart below applies to round tubing only. I have done the math for all common and many uncommon sizes of hose and tubing used for boost bottles.
|
Inside
Diameter
|
cc
@ 1 inch
|
cc
@ 1 foot
|
|
1/8"
(0.125)
|
0.20
|
2.41
|
|
3/16"
(0.1875)
|
0.45
|
5.41
|
|
1/4"
(0.25)
|
0.80
|
9.67
|
|
5/16"
(0.3125)
|
1.26
|
15.08
|
|
3/8"
(0.375)
|
1.81
|
21.72
|
|
7/16"
(0.4375)
|
2.46
|
29.56
|
|
1/2"
(0.5)
|
3.22
|
38.61
|
|
9/16
(0.5625)
|
4.07
|
48.87
|
|
5/8"
(0.625)
|
5.03
|
60.33
|
|
11/16"
(0.6875)
|
6.08
|
73
|
|
3/4"
(0.75)
|
7.24
|
86.88
|
|
13/16"
(0.8125)
|
8.5
|
101.96
|
|
7/8"
(0.875)
|
9.85
|
118.25
|
|
15/16"
(0.9375)
|
11.31
|
135.74
|
|
1"
|
12.87
|
154.44
|
|
1 1/20"
(1.05)
|
14.19
|
170.26
|
|
1 1/8"
(1.125)
|
16.29
|
195.47
|
|
1 1/4"
(1.25)
|
20.11
|
241.32
|
|
1 3/8"
(1.375)
|
24.33
|
292
|
|
1 1/2"
(1.5)
|
28.96
|
347.5
|
|
1
77/128" (1.6)
|
32.95
|
395.38
|
|
1 5/8"
(1.625)
|
33.99
|
407.83
|
|
1 3/4"
(1.75)
|
39.42
|
472.99
|
|
1 7/8"
(1.875)
|
45.25
|
542.97
|
|
2"
|
51.48
|
617.78
|
|
2 1/4"
(2.25)
|
65.16
|
781.88
|
|
2 1/2"
(2.5)
|
80.44
|
965.28
|
|
2 3/4"
(2.75)
|
97.33
|
1167.99
|
|
3"
|
115.83
|
1390
|
|
3 1/2"
(3.5)
|
157.66
|
1891.95
|
|
4"
|
205.93
|
2471.12
|
I would suggest measuring the inside diameter of the tube you are working with to be sure it is the actual size it claims to be. The formula for finding the volume of a round tube is :
Volume = Radius Squared x Pi (3.1416) x Length
If you measure in inches, this formula will give you the volume in cubic inches.
Cubic Centimeters = Cubic Inches x 16.387064
If your measurements are in millimeters, using the formula for volume will produce an answer in cubic millimeters.
Cubic Centimeters = Cubic Millimeters x 0.001
If you wish to use square tubing, you can find the volume using a much simpler formula.
Volume = Length x Width x Height
Remember to use the inside dimensions for any measurements.
If you are looking for a container to use as a boost bottle, they are often measured in ounces.
Ounces = Cubic Centimeters x 0.0338140227
There are other variables, such as end caps and fittings, that would also need to be taken into account to be completely accurate. I usually don't worry about the volume of the fittings I use. Any variances from the volume of fittings should be minimal. When attached properly, hose will cover most of the fitting. It is likely that the base of the fitting will protrude from the intake a little to create additional volume or into the boost bottle to reduce volume. The inside diameter of the barb of the fitting should be smaller than the inside diameter of the hose. I don't believe those variables will make any noticeable difference in performance. Unless you cut and connect everything perfectly, you'll see bigger variations in volume there.
Building A Boost Bottle
Making a boost bottle can be very simple or very complicated, depending on what you want. The easiest way to make a boost bottle is to find a suitable container and find a way to attach it to your intake. I've heard of drink bottles, medicine containers, octane booster tubes, and other objects being converted to boost bottles. I prefer to make my own out of PVC pipe. It's relatively easy and you can tailor it to your tastes. If you want something that looks trick you could make it from metal, mold it from fiberglass, or even build it into the frame of your scooter.
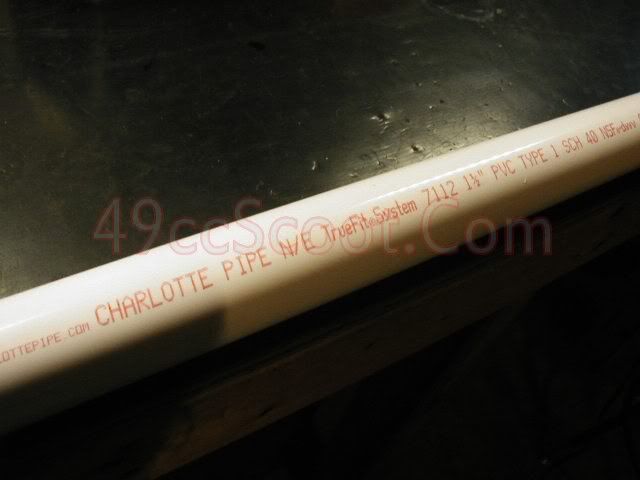
For this example, I'm making a PVC boost bottle for my 98.6cc minarelli clone. I would like to make the bottle and tube displace right around 98.6cc just like my engine. Because of space limitations, I decided to use 1.5" PVC pipe instead of 1" to make a shorter and fatter boost bottle. I'll be using 1/4" inside diameter hose to connect my boost bottle to my Polini intake manifold's vacuum fitting. I mocked up my boost bottle's mounting location and determined that I would need about 7 inches of hose to reach from the boost bottle to the intake manifold.
Now I needed to calculate how much volume 7 inches of 1/4 inch tubing would hold. You may be able to use the chart above, but I did it with the formulas I listed.
Radius
Squared x Pi x CC Conversion Number x Number Of Inches = Volume Of Hose
In CC
0.125 x 0.125 x 3.1416 x 16.387064 x 7 = 5.63cc
Then I subrtracted the volume of the hose from the total volume I desired to get the target volume of my boost bottle.
98.6 - 5.63 = 92.97cc
Next I did the math to find the length of 1 1/2 inch PVC pipe that I would need.
Radius
Squared x Pi x CC Conversion Number = CC Per Inch
0.75 x 0.75 x 3.1416 x 16.387064 = 28.96cc
Target
Volume / Volume Per Inch = Length Needed
92.97 / 28.96 = 3.21 inches
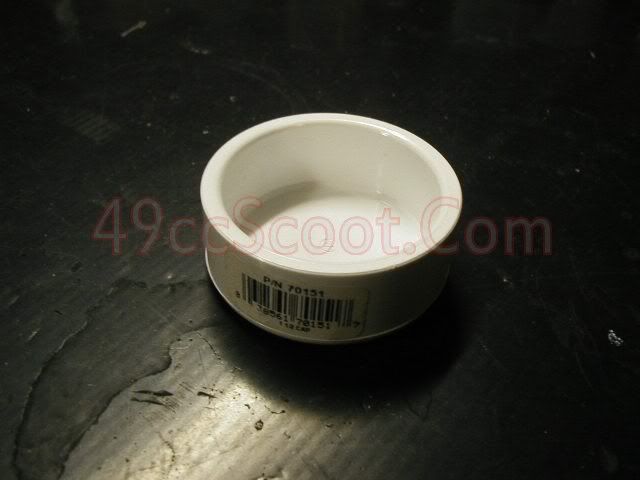
3.21 Inches would be the correct length to cut my PVC if I were using end caps that didn't hold any volume, but the PVC caps I'm using do. They add 1/16 inch to each end, or 1/8 inch total, so I would need to subtract that from the length of the PVC needed. This would require more advanced calculations or using a fluid to obtain the cc if using domed caps or caps with a different inside diameter.
3.21 - 0.125 = 3.09 inches (3 3/32)
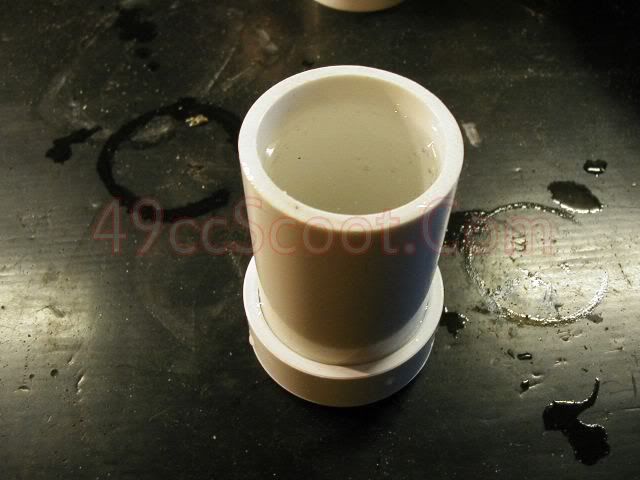
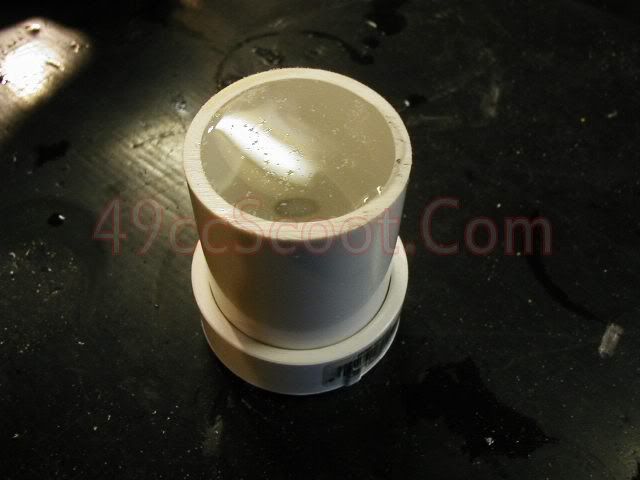
I cut a piece of 1 1/2 inch PVC 3 3/32 inches long.
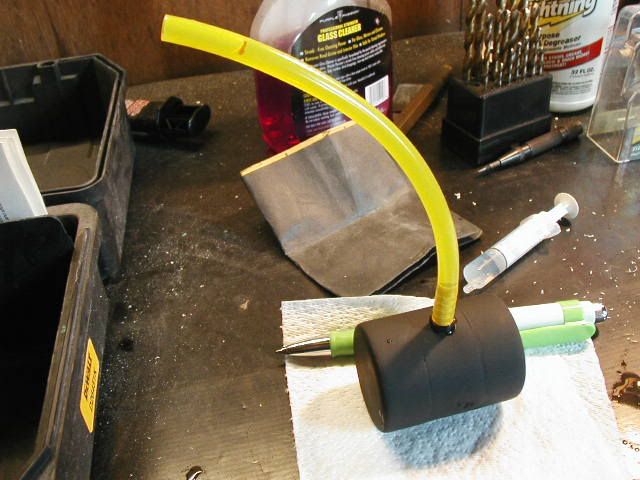
Then I put one end cap on (with no glue) and filled the pipe with water using a syringe. It may be easier to find a syringe marked in mL rather than cc. The good news is, they are both the same.

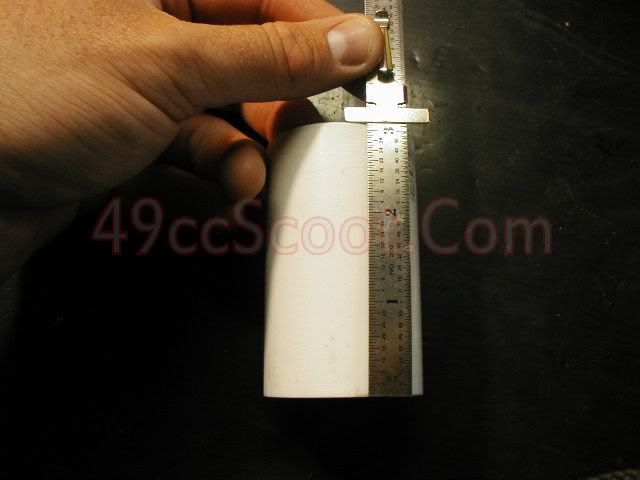
I was suprised to see that my pipe which should hold 92.97cc actaully held over 100cc of water. I never measured the inside diameter of the pipe because I beleived 1 1/2 inch PVC was actually 1 1/2" inside. The pipe I was using measured 1.6 inches inside diameter, enough to make quite a difference. I made new calculations using 1.6 inches instead of 1.5.
Radius
Squared x Pi x CC Conversion Number = CC Per Inch
0.8
x 0.8 x 3.1416 x 16.387064 = 32.85cc
Target
Volume / Volume Per Inch = Length Needed
92.97
/ 32.85 = 2.83 inches
Once again I subtracted 1/8 inch to compensate for the end caps.
2.83 - 0.125 = 2.71 inches (2 23/32)
I cut the PVC pipe down to 2 23/32 inches, then put one end cap on and refilled it with water. This time it held just under 91cc. The end cap should hold 2.06cc, so it was right about where I had planned.
With the volume worked out, I moved on to construction and aesthetics. I could just glue the caps on and leave the boost bottle looking rough.
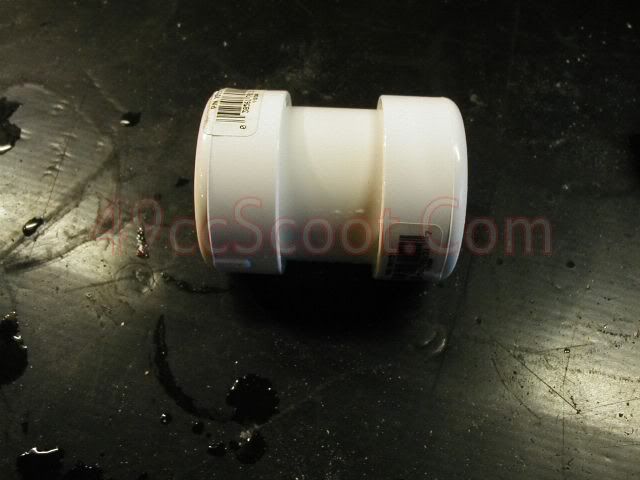
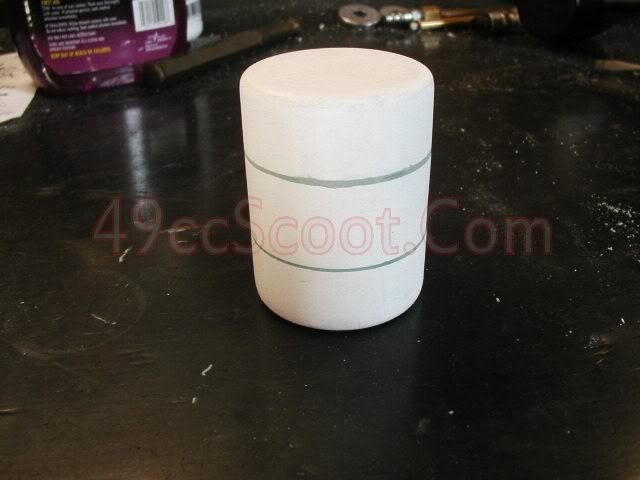
I would prefer to smooth out it's appearance though. I filled the center gap using a 1 1/2 inch PVC coupler. I had to cut the coupler to the right length to fill the space and grind out the lip inside of it to make it fit over the pipe properly.
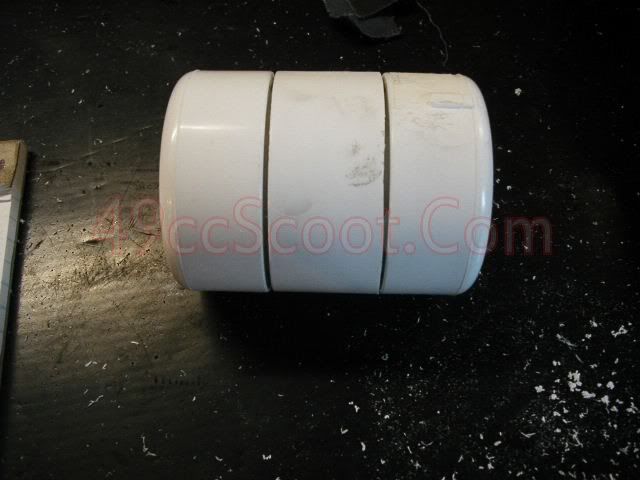
While everything was together for test fitting, I sanded down the lettering and markings on the PVC parts to smooth it out.
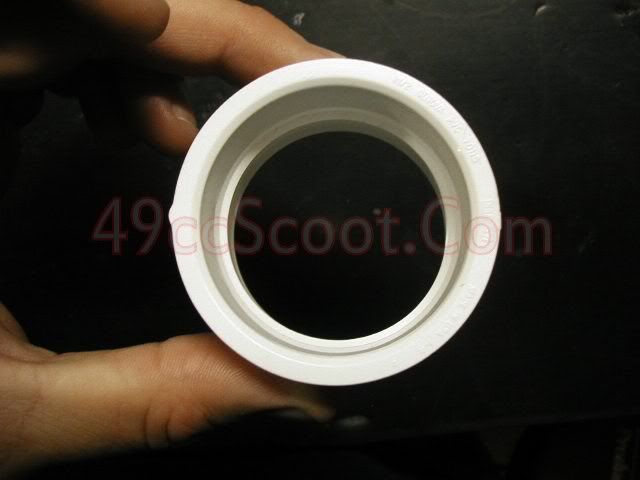
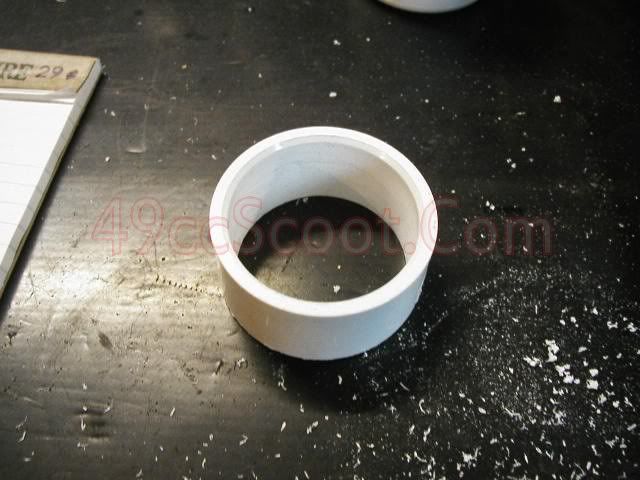
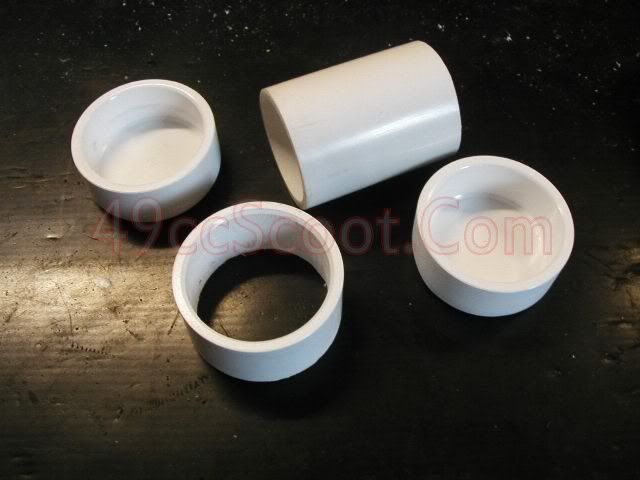
Next, I pulled all the pieces apart.
Then I reassembled the boost bottle using PVC glue.

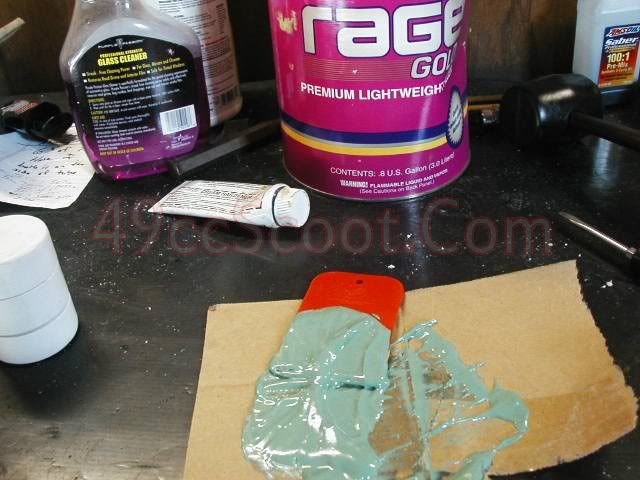
I cut the coupler to short to completely fill the space in the center, so I wanted to smooth it out a little more. I used Rage Gold body filler to fill the gaps.
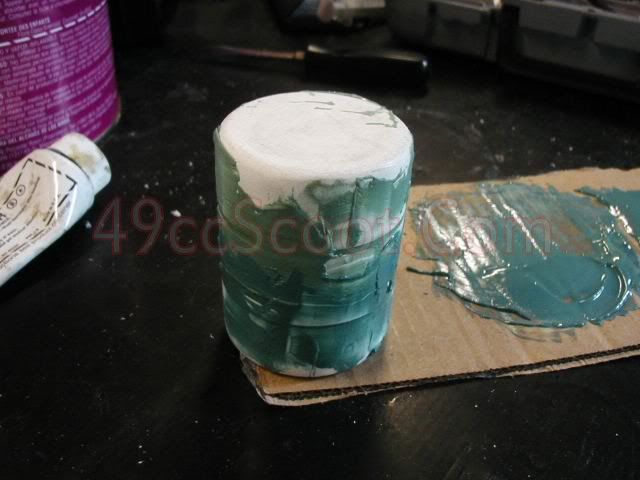
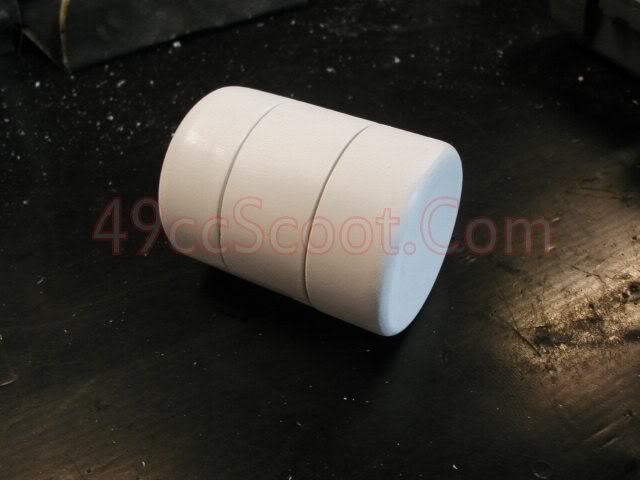
One the body filler dried, I sanded it smooth using 220, 300, and 400 grit sandpaper.
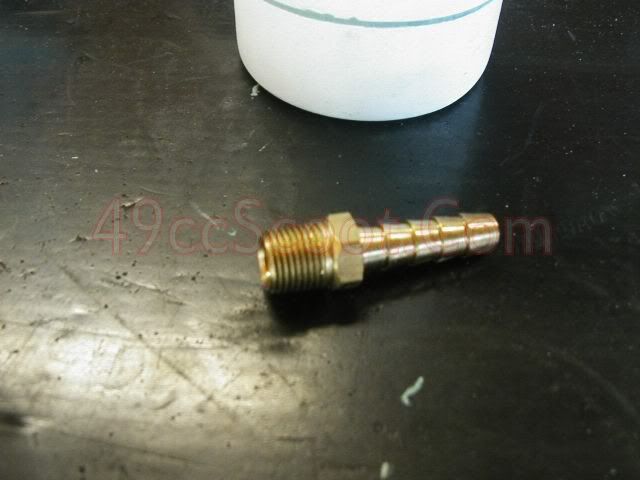
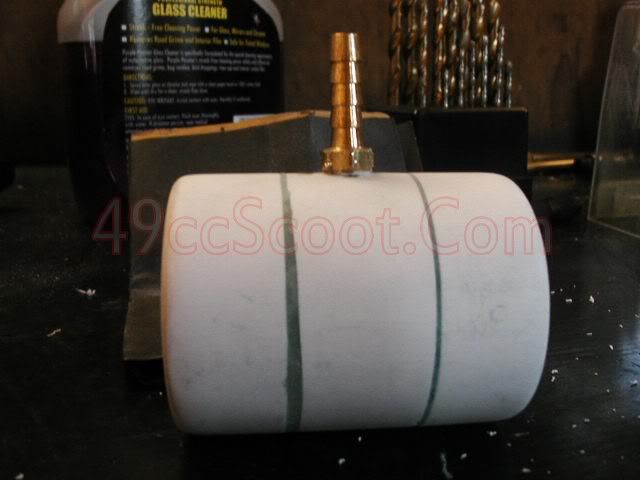
With that taken care of, I moved on to installing the brass fitting needed to connect the bottle to the hose and subsequently the intake manifold. I used a 1/4 inch hose barb with 1/8 inch NPT threads.
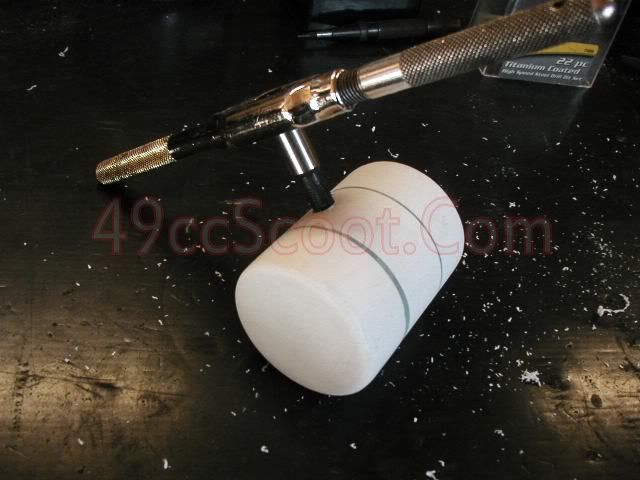
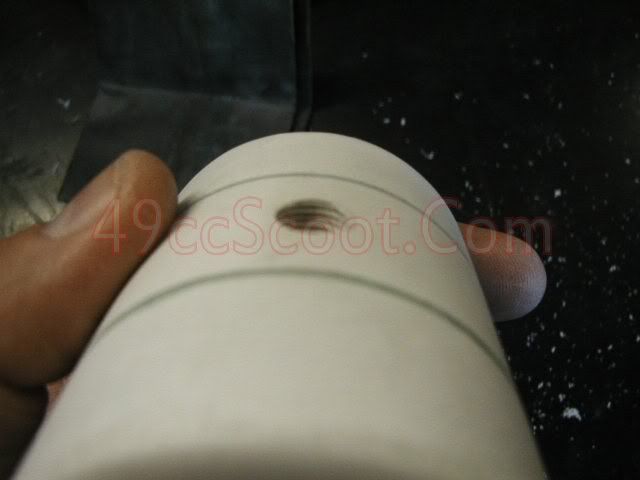
Next, I drilled a 21/64" hole in the boost bottler where I wanted the barb. The barb can be in the end, the side, or wherever you want it.
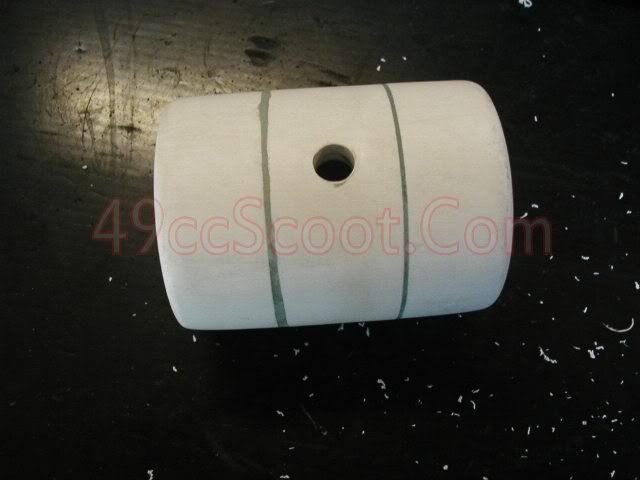
Then I used a 1/8 inch NPT tap to add threads for the hose barb to screw into and installed the hose barb with a dab of PVC glue on it's threads.
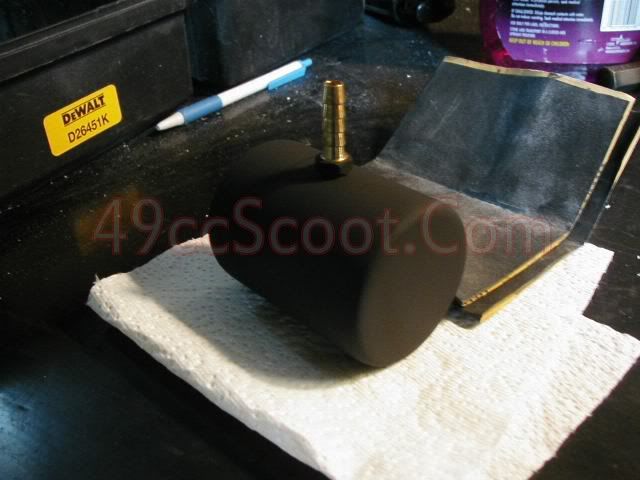
After that, I masked the hose barb and painted the boost tube to match my scooter.
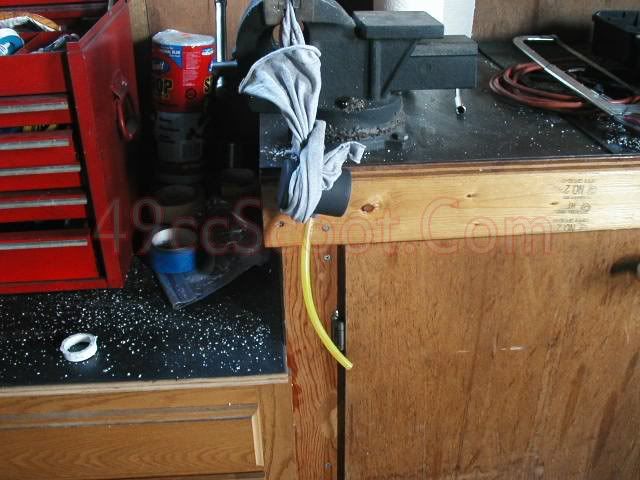
I cut a bit of hose, attached it to the bottle, and marked it at 7 inches. Then I filled the bottle and hose with water to the 7 inch mark using a syringe.
The bottle and hose held 96cc. That's a little shy of 98.5cc that I was aiming for, but there was also an air pocket trapped in the cylinder. I managed to get a few bubbles out, but couldn't get it all. It should be very close to my target volume. It was close enough for me at least, so I cut the hose to 7 inches, drained the water, and hung the cylinder upside down to let it dry out.
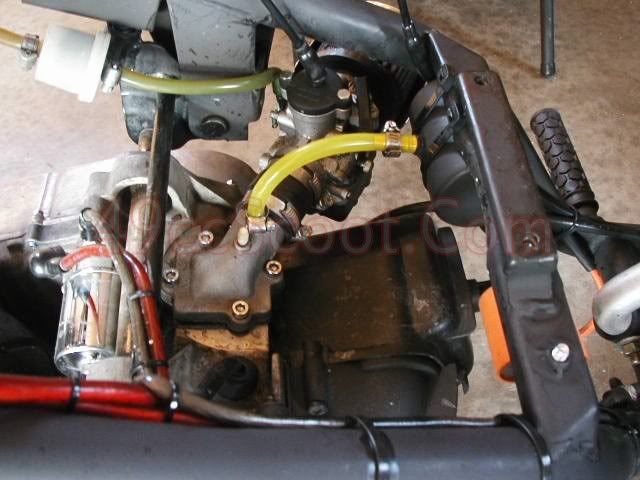
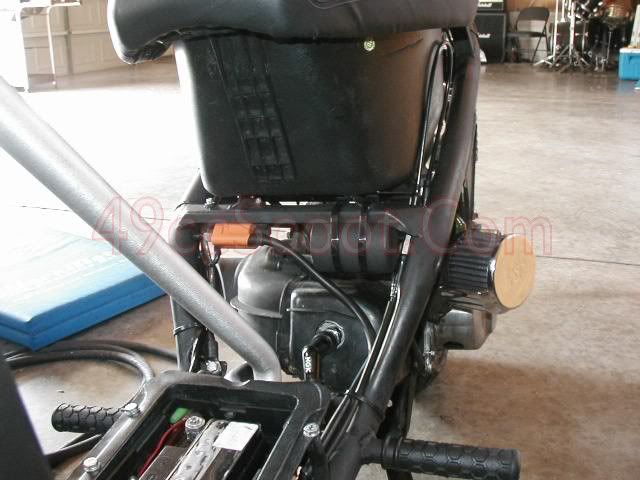
Once the bottle dried, I attached it to my intake manifold's vacuum port. If your scooter doesn't have a spare vacuum fitting, you may be able to use a T to connect both the original vacuum accessory and your boost bottle. The boost bottle should be mounted above the cylinder and intake manifold to work properly.
After installing a boost bottle, you may need to make some adjustments to your tune.